
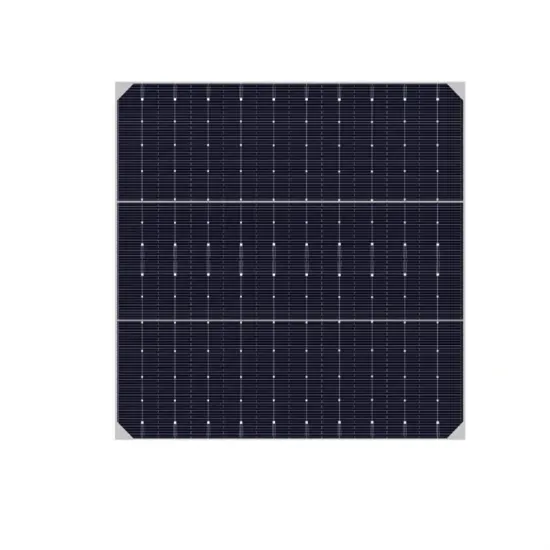
A standard residential solar installation commonly utilizes a minimum of three to four wires: two for the photovoltaic (PV) module connections, one for the inverter, and one for grounding.
This solar panel wiring guide explains different methods and includes practical wiring diagrams and actual examples of ways to design a reliable and efficient solar power system.
In this article, you will explore everything about wiring solar panels, from understanding the basic components to connection types and the tools required, to a step-by-step wiring guide and final testing. Let's get into further details.

Follow the wiring diagram provided with your solar air conditioner. Connect the DC input cable from solar panels to the dedicated DC port on the outdoor unit.
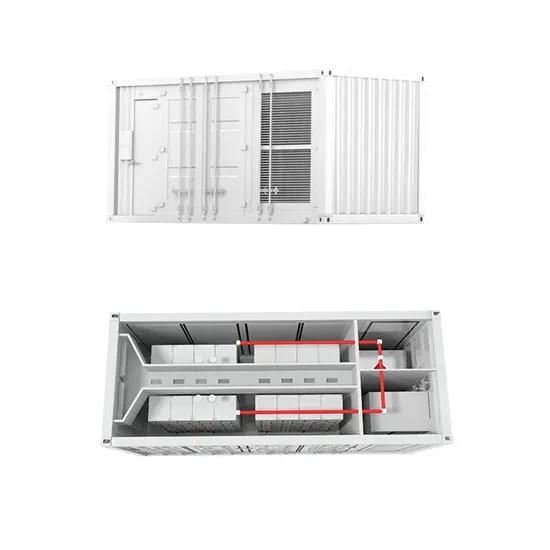
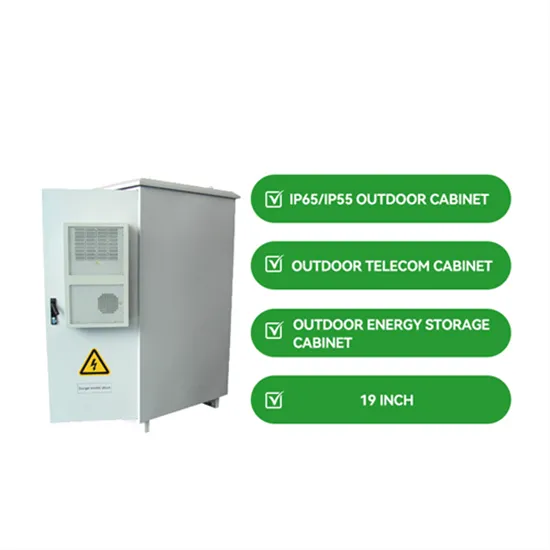
Designed for remote locations, it integrates solar controllers, inverters, and lithium battery packs to ensure stable and continuous power for telecom equipment, surveillance systems, and off-grid applications. Its modular design supports easy expansion and remote monitoring.
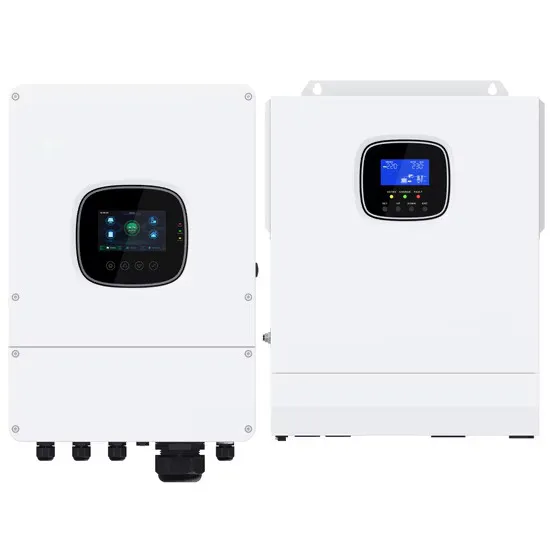
Connect Charge Controller: Always connect the battery side first, then the panel side. Inverter Setup: Connect using appropriately rated cables with fuses and a disconnect.
Learn how to prepare DC cable connections for your PV system in this step-by-step guide. We cover the types of cables you'll need and demonstrate how to crimp them properly for a secure and efficient connection.
E-START ENERGY delivers utility-scale BESS for frequency regulation, peak shaving, electricity market participation, and grid-side solutions. Request a free consultation and get a custom quote for your project — from 1MW to 500MW+.
Have questions about grid-scale energy storage, frequency regulation systems, peak shaving solutions, or grid interconnection technology? Reach out – our energy storage experts are ready to assist.